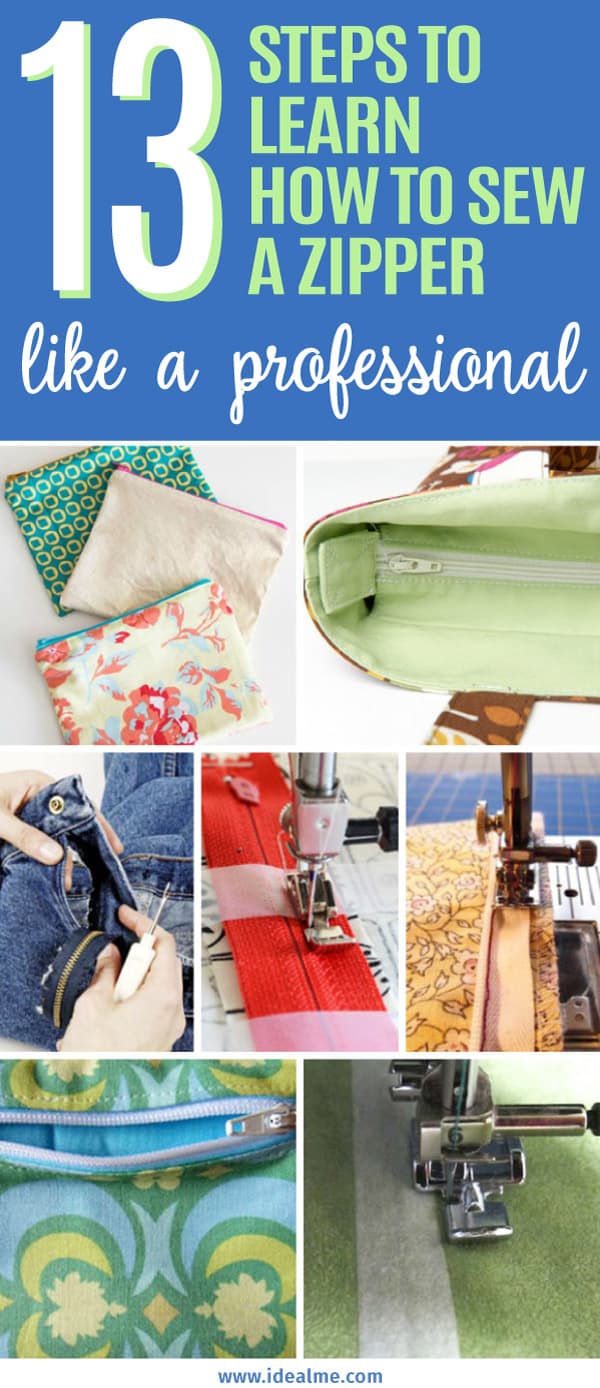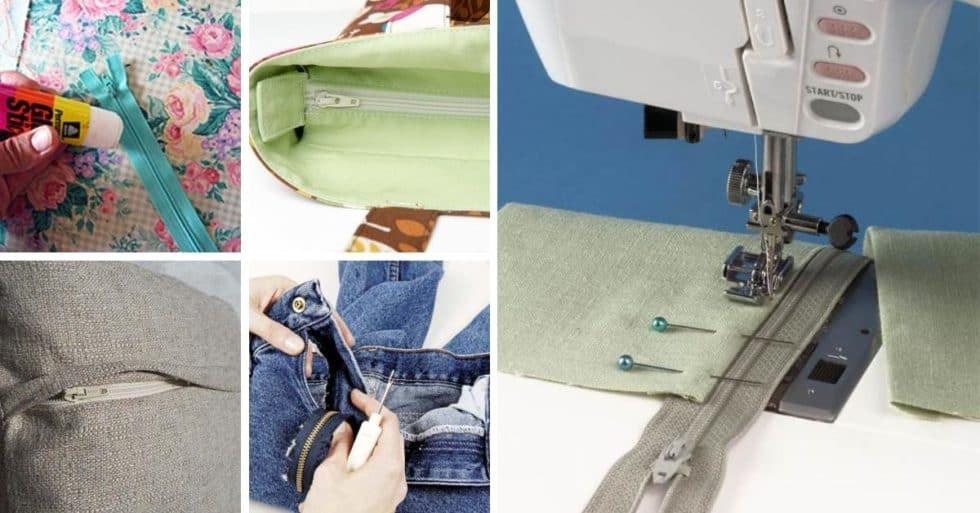
Sewing a zipper may appear like a daunting task, in fact, if you are new to sewing – you may even have knowingly avoided doing his particular task. Luckily there are various techniques, tips and steps you can follow to learn how to sew a zipper.
Zippers are just naturally notorious, it’s probably the way they look – so cold, industrial and unnerving. It’s totally understandable to hesitate and even avoid taking them on. But, just imagine if zippers were never invented? Gasp! The horror!
The only thing you need to start learning how to sew a zipper is actually sewing one. Take that first step and you’ll never look back.
Sewing Tips For Standard And Lapped Zipper
How to sew in a standard zipper, using both the centered and lapped methods, as well as how to insert the popular invisible zipper that “disappears” into the garment seam – with some helpful tips regardless of the type of zipper or insertion method you choose.
Via Threads
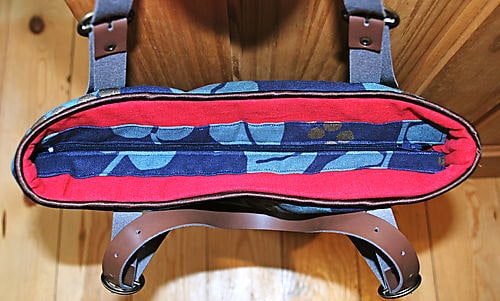
Recessed Bag Zipper
The ends are open slightly, but there are two ways to finish it. You can either leave the zipper tabs loose, or you can sew them to the top of the bag. With a little calculation, you can place the zipper as close to or as far away from the top of the bag as you would like. Since the zipper fits just right that the bag still opens almost as wide as it would without the zipper.
Via Sewing Novice
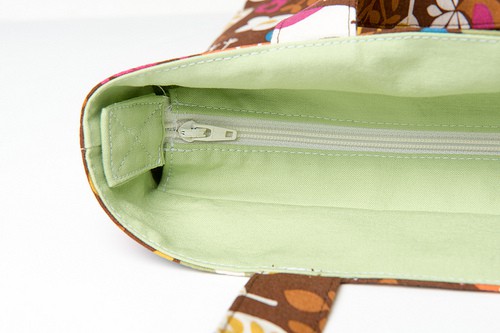
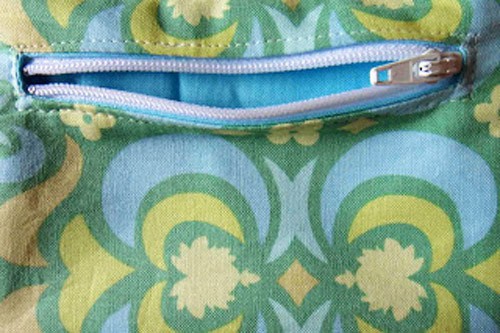
Concealed Top Bag Zipper
This is a tutorial for a nifty bag zipper. What is nifty about this bag zipper is that it makes bags look neat and professional. This is because the zipper is inserted 1″ (2.5cm) or more down from the top edge of the bag. Another benefit of this zipper is that it adds volume to the top edge of the bag in that the top of the bag has a slightly boxy opening.
Via U-Handbag
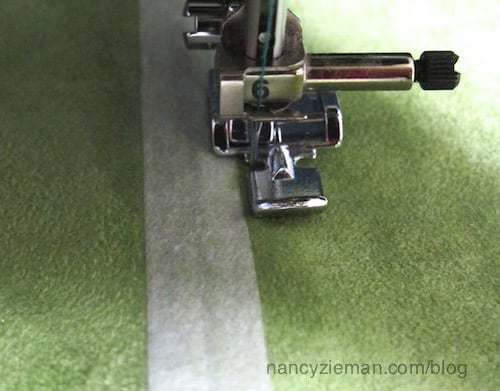
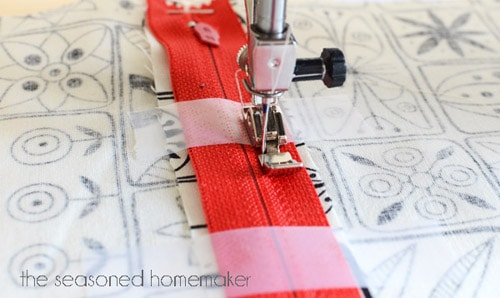
Easy Centered Zipper – Pinless Sewing Technique
The absolute easiest way to insert a zipper. Use tape instead of pins!
Via Nancy Zieman
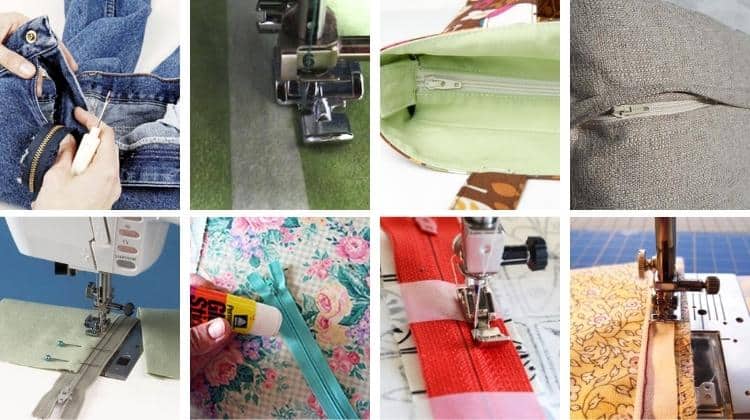
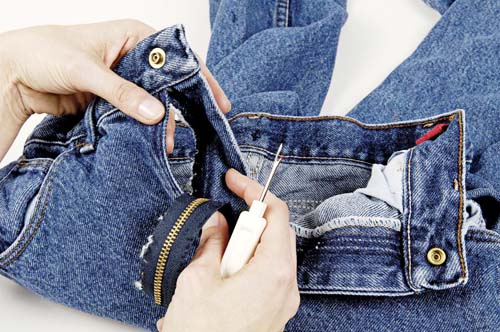
Replacing a Broken Zipper
Excellent step-by-step to replacing a defective zipper on your own – without unstitching the waistband.
Via Threads
Inserting Invisible Zipper Minus an Invisible Zipper Foot
If you don't own a special presser foot for invisible zippers or if you've had trouble with them in the past, try reading through this tutorial. You might just find an alternative that will work for you.
Via BurdaStyle
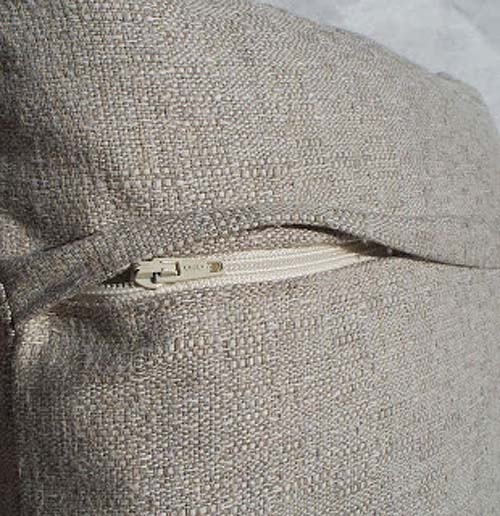
Hidden Zipper for Pillow Covers
If you prefer a stuffed pillow where you can throw the whole thing in the wash. It looks much nicer, too compared to the usual ones on the side seam.
Via Sew Inspired
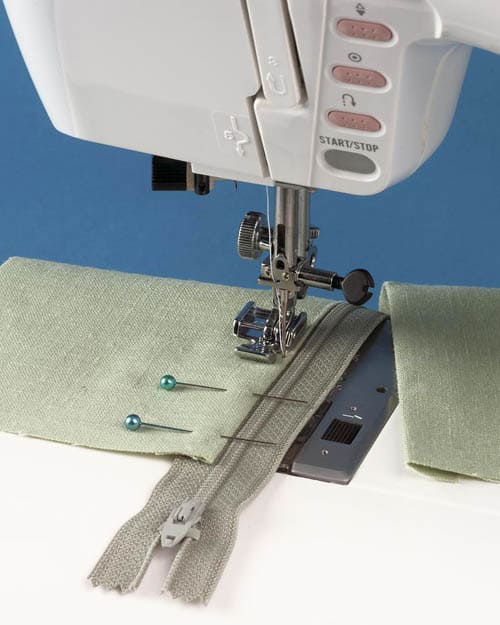
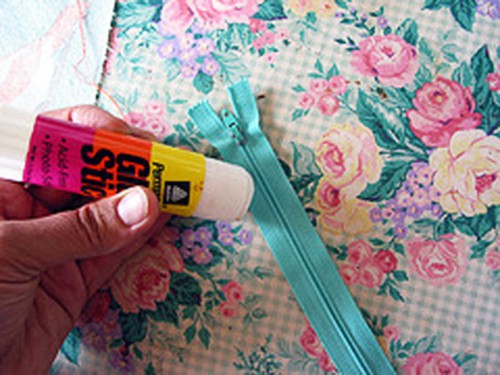
The Glue-Set Zipper Tutorial
The most difficult part of zipper installation is making it look good. With the glue-set method you eliminate most of the challenges. The process becomes quite easy. The idea behind the glue-set zipper installation is to use adhesive to hold the zipper in place, while sewing, instead of pins. This allows you to top stitch the zipper without having to wrangle with the pins.
Via Sew Mama Sew
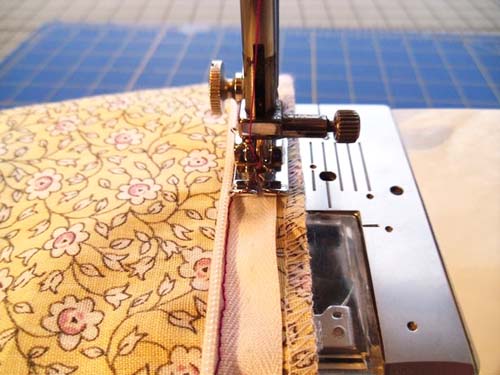
Zipper Foot Styles
The real secret to inserting a zipper is found in the zipper foot. All zipper feet have one thing in common – notches on either side of the foot that allow the needle to get as close as possible to the edge of a project.
Pocket Zipper
This way of sewing a zipper can really be useful for making wallets and bags, or if you want to add a secure pocket on clothing. Definitely, very handy!
Via the Gilded hare
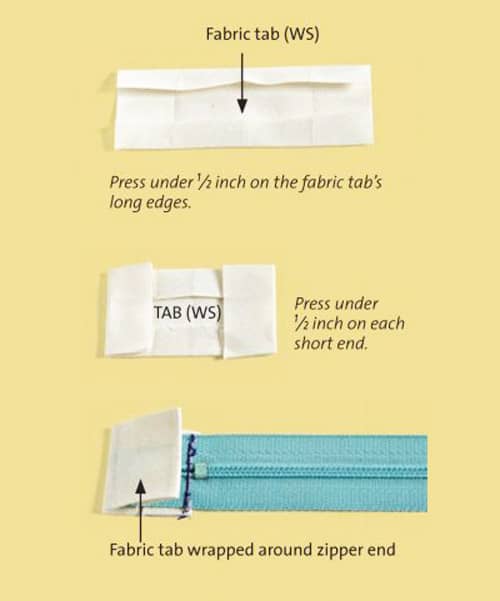
Shortened Zipper Tip
It's common to have to shorten a zipper to fit a garment opening. Unfortunately, this can leave you with a scratchy cut end. Even an uncut zipper can irritate your skin. This nice finishing touch makes your garments more enjoyable to wear.
Via Threads
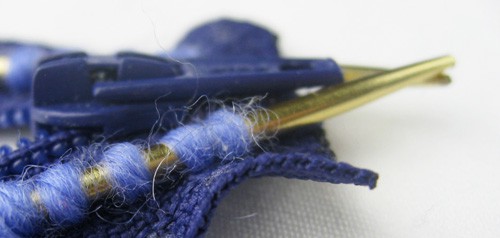
No-Sew Zipper in Knitwear
Do you avoid making zippered knitwear because of the sewing involved? Here's a way to install zippers with no sewing at all. Instead, you literally KNIT the zipper in. To prep the zipper to perform this magic trick, we'll borrow a tool used in rug-making and machine knitting–the latch hook.
Via TECHknitting
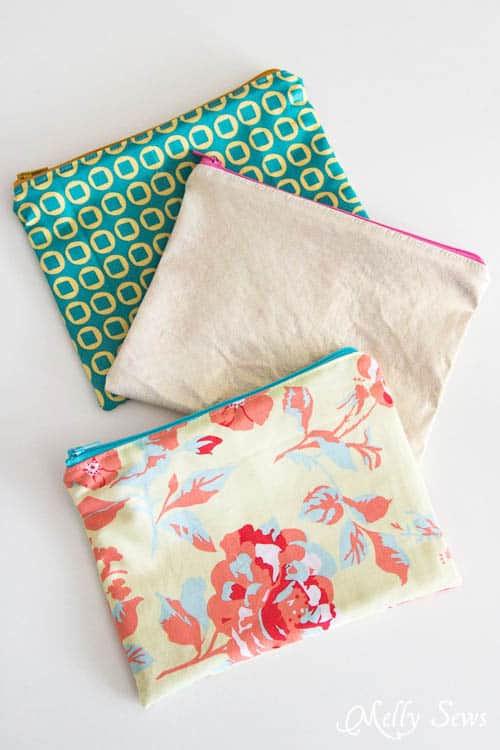
15-Minute Zipper Pouch
This written and video tutorial is great practice to sewing zippers that you can do in just 15 minutes!
Via Melly Sews