Part of the formula for a successful blog includes killer photos. You rarely ever see a blog without photos and great graphics.
Why?
Because your blog is about more than just content. Don’t get me wrong, the content is crucial. But a blog is also about the aesthetic.
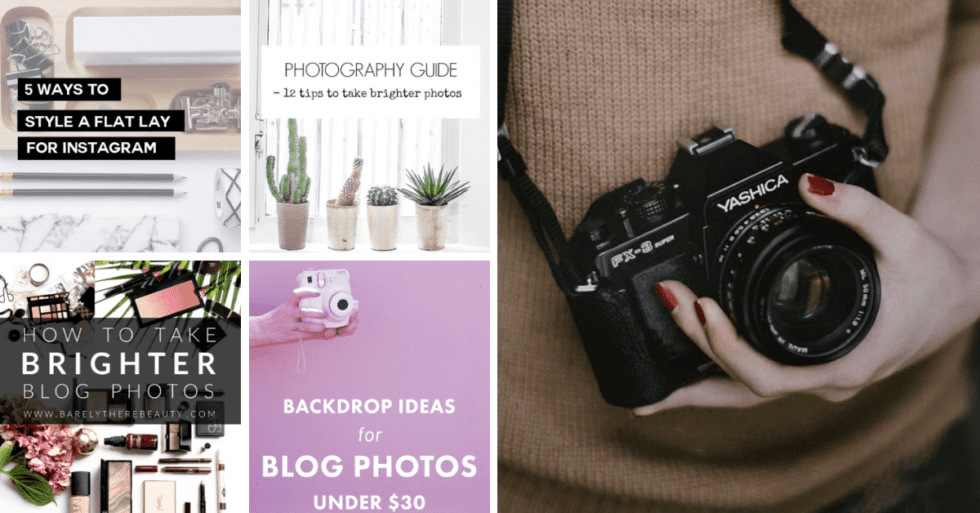
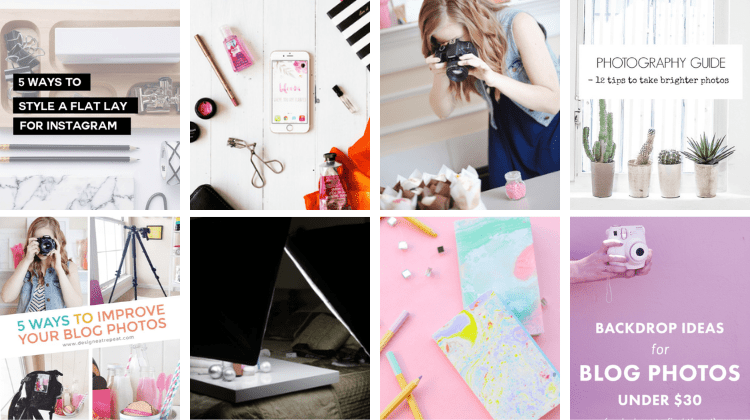
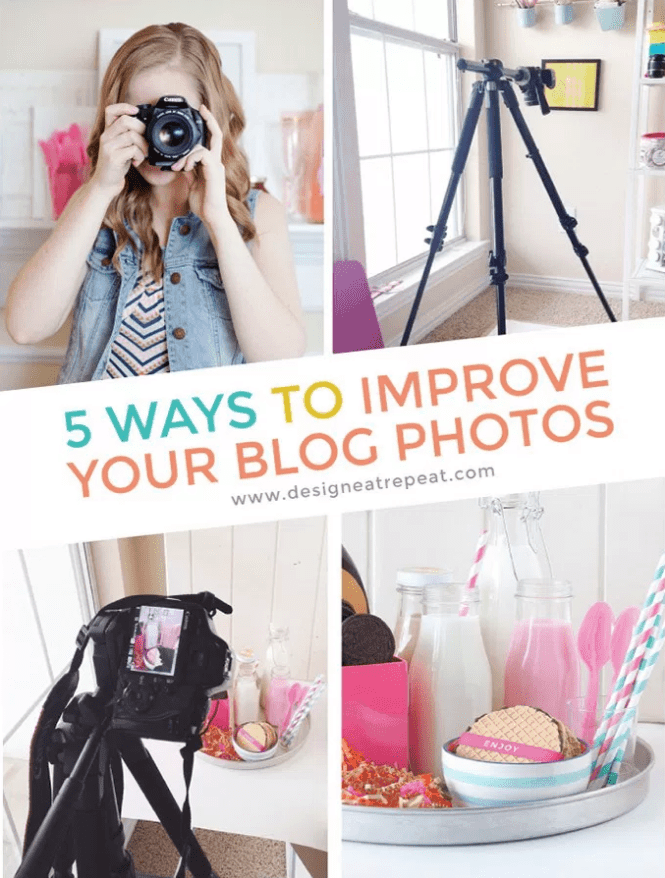
Having crisp, appealing images is even more important for social media sharing. That’s why we compiled 15 Photography Tips For Bloggers!
Get the secrets you need to create incredible blog photos. No need to be an expert. You just need the right tools.
These are the 15 the best photography tips successful bloggers use to take their blog photos to the next level.
Say cheese!
It’s All About The Light
Pro tip: you don’t need a fancy camera to create perfect, eye-catching blog photos. To get those bright, crisp images it’s all about the light.
It’s the most important element of photography.
Pretty much every blogger will agree that natural light is your best friend.
Properly lighting your photos is the number one way to take your photos to the next level. See Agata’s full guide for tips on how to light your photos properly.
Via Passion Shake
Use Soft Boxes
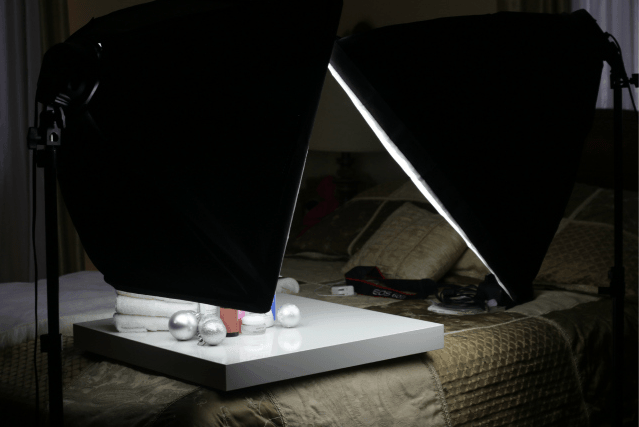
So, you know lighting is critical for bright, professional-looking photos. But what do you do when you’re shooting indoors or during winter when light is scarce?
Use soft boxes. Soft boxes are lighting accessories that help filter and diffuse the light from a lightbulb.
When you use them, they provide evenly distributed, soft lighting. This extra, controlled light will illuminate, brighten, and even out your photos.
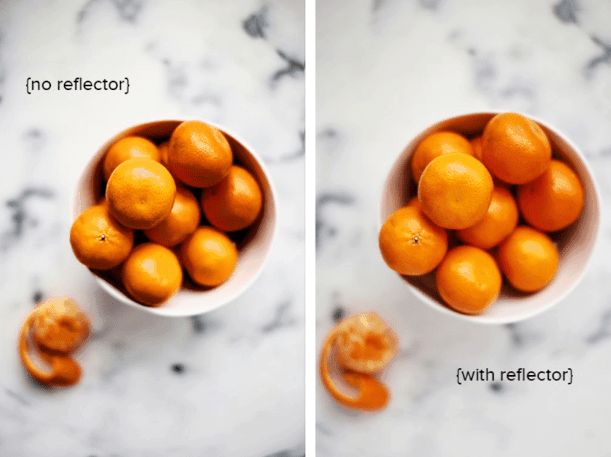
Use a Reflector
Light doesn’t always do what we want it to. Ever take a photo in bright sunlight only for half of it to come out in shadow? That’s because light rays aren’t always naturally distributed.
The best way to even out light and avoid shadows is to use a reflector. It helps fill in any shadows by bouncing the light and reflecting it.
Light reflectors, or “bounce boards,” are also pretty affordable.
Via Foodess
Use Different Backdrops
All the best blog and Instagram photos have one thing in common. They’re completely styled, and that includes their backgrounds. From rustic wood to stark white, the background is a strategically chosen element.
Your freshly baked pie probably wouldn’t look as appealing photographed against a messy stove or cluttered kitchen sink.
Choosing an appealing background helps elevate your photo.
Via Melyssa Griffin

Get a Tripod
A tripod is such a helpful tool, and not just for when you’re taking self-portraits.
It allows you to take steadier photos, which means better quality. That means you can use a slower shutter speed without worrying about shaky photos.
No more climbing on top of the kitchen counter to get your shot. A tripod allows more mobility which means you spend less time shooting and less time editing.
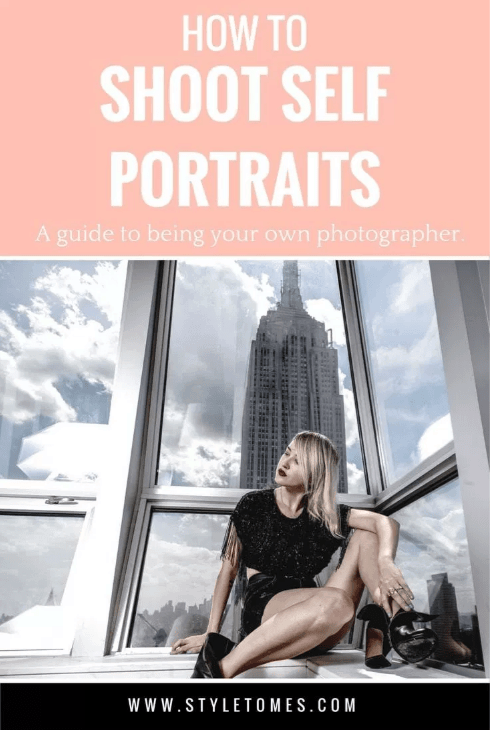
Use a Remote
This is particularly helpful for self-portraits. You can buy remotes for many models of digital cameras and phones. This allows you to set your phone or camera up and shoot without having to set a timer or use the dreaded front camera.
This means you can model freely for self-portraits or wander away from the camera when shooting products.
Mobility means more time to style and model and less time stuck behind the camera.
Via Style Tomes
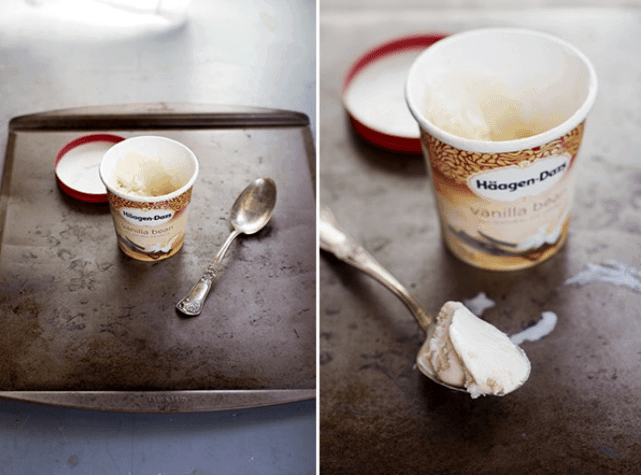
Get Close
This also relates to finding your subject. Have you ever noticed how almost all blog photos (both food and products) are tight shots? That’s because we want a viewer’s eye to be drawn into the photo.
You don’t need to see my entire kitchen, just the awesome soap cupcakes and yummy recipe I made in it.
Everything looks more focused and powerful in close up.
Via Brit + Co
Use Props
Blog photos are absolutely styled. No one just whips out their camera and shoots their desk. It’s all about the aesthetic and props can help elevate a photo.
Props help create a mood, add some life to the photo, or help it pop. Like a backdrop, these are strategically chosen.
You want to pick props that make sense and complement the subject of your photo. I might pair my chocolate cake with a rolling pin and tea cloth. Or maybe I’ll have my makeup spill out of a cute makeup bag instead of being scattered across an empty desk.
Props add that extra pop that makes a photo look complete.
Here’s a great guide for styling your photos.
Via PinkPot
Angles, Angles, Angles!
Play around by shooting from different angles. Sometimes the way something looks on camera isn’t the way it will look on your computer. So, it’s helpful to shoot from several different angles.
Plus, who wants to sift through 100 photos all shot from one single angle? Whether you’re shooting portraits or stills of food and products, working your angles will go a long way.
It might a little longer to set up your camera, but it’s worth it.
Via Brit + Co
Use a Color Palette
Color plays a huge role in the mood of a photo. Different colors communicate different emotions. Chances are, color also is a part of your brand. Think about what colors align with your brand.
Do you connect with soft neutrals or bold, bright colors?
You also want to make sure the colors in the photos play nicely together. Let’s just resolve to avoid the dreaded orange and green combo. No one likes that.
Via PinkPot
Use Your Settings
Being familiar with your camera or phone’s settings can go a long way. They’re there for a reason, but sometimes it’s tricky to know what each setting does.
It can help you curate the perfect photo and reduce editing time.
Probably the 2 most common settings discussed are aperture and ISO. Aperture manages how much light enters the camera and is controlled by the f-stop number.
In low light you can use a smaller f-stop number to allow more light to flood the lens. That way, your photo comes out brighter.
A higher ISO also equals brighter photos. However, this is sometimes at the cost of grainier photo quality.
Jennifer has a great guide for settings and explains how she likes to keep her ISO around 250.

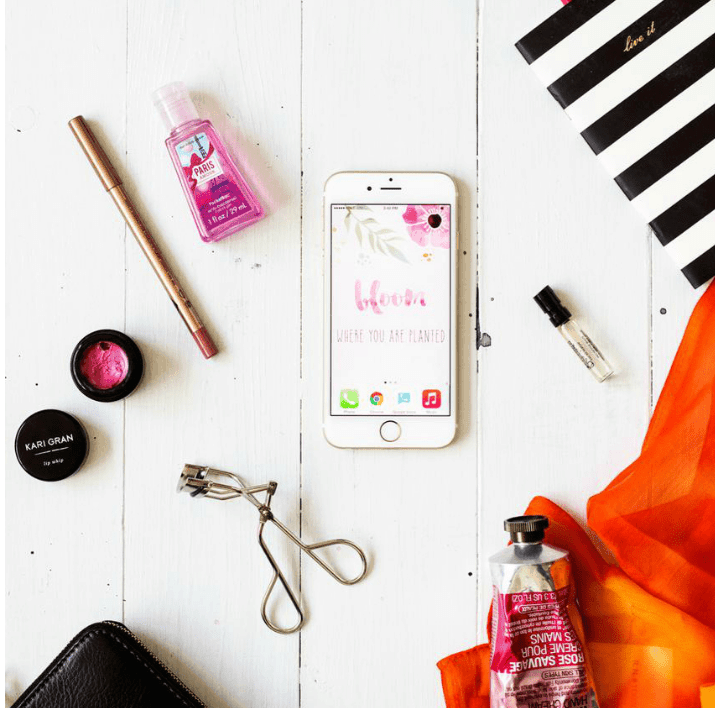
Master the Flat Lay
This style is the King of Instagram and is characterized by strategically arranging products and shooting from above. Chances are when you see products shot on Instagram, the photographer used a flat lay.
It’s great because it makes any subject look fresh and aesthetically pleasing. This type of shot requires you to pay the most attention to the backdrop you use and how you arrange your props.
Edit
Editing is your best friend. Sure, we’d all like to take the perfect, post-ready photo each time. But when light fails you, editing is your holy grail.
Editing can enhance your photos when they’re shot in low light. It can even punch up the colors or brightness in a photo to make it pop.
Knowing how to edit a photo can save one that has shadows, is the wrong color temperature, or is just too dark.
Check out Erin’s awesome editing tutorial here.
Via Sixth Bloom

Avoid Phone Zoom & Use Your Grid
This is a pro tip for shooting with your phone. Unlike with your camera, zooming on your phone reduces pixels. That means lower photo quality. It’s better to get up close with the subject than to zoom in.
You also want to use your phone’s grid setting to keep the photo centered and straight. This is particularly helpful when you shoot flat lays with your phone.
Via Join The Creative Side
Use Apps
There are so many editing apps out there that go beyond your basic crop and filter. Using mobile editing apps can make photos shot on your phone that much better. Or you can edit photos stored on your phone on the go.
Edit photos after you shoot them so that you have a good original base photo. Then use a great editing app to enhance it.
Here’s an awesome list of the best 10 editing apps.

Now you know all the secrets to shooting a perfect, blog-worthy photo. See, it’s not so tough!
And now that you have everything you need to create the best blog aesthetic, are you ready to take your blog to the next level?
Join my Launch Your 6 Figure Blog This Weekend training program and learn our formula for success.
From post ideas to how to grow your email list, my training will help you take your blog to the next level. You can have a 6 figure blog, you just need the right formula. Lucky for you, I’m sharing mine here!